
How to Identify Antique Furniture: A Beginner’s Guide
A practical guide to looking beyond the surface
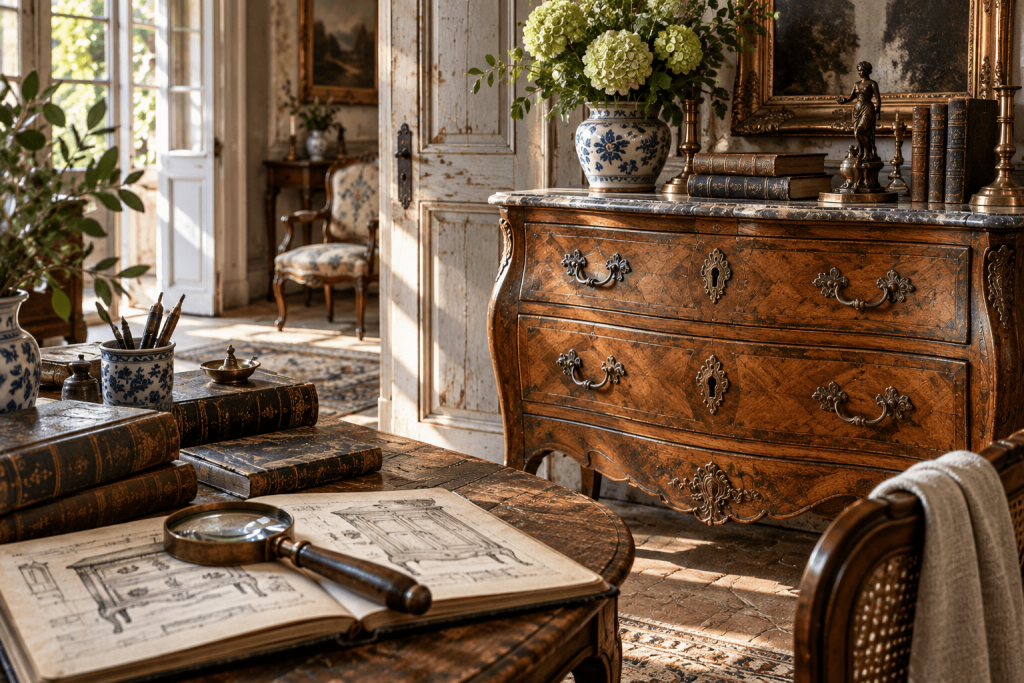
There is a moment when looking at an old piece of furniture becomes rather like being a detective.
At first, you might simply see a cupboard, a chest of drawers, a table or a chair.
Then you start looking more closely.
You notice the way the drawers are constructed. The timber. The joints. The screws. The hinges. The backboards. The feet. Perhaps there is an old label hiding underneath, or a maker’s mark tucked away somewhere nobody has looked for years.
Suddenly, the piece starts telling you something.
This is one of the great pleasures of antiques.
You don’t need to be an expert to start learning how to identify antique furniture. You simply need to become curious about how an object was made, when it might have been made, and whether all the different clues tell the same story.
And that’s what we’re going to do here.
Quick Answer: How Do You Identify Antique Furniture?
The best way to identify antique furniture is to look at the whole piece rather than relying on one feature.
Start with:
- how the furniture is constructed
- the type and quality of wood
- the joinery
- drawers and their construction
- nails, screws and other hardware
- the style and proportions
- the finish and patina
- maker’s marks, labels or stamps
- signs of repair or alteration
- the overall consistency of all these clues
No single feature can normally prove that a piece is antique.
A piece of furniture might have an old drawer but a replacement top. It might have original timber but later hardware. It might be an old piece that has been extensively restored.
The trick is to look at the evidence as a whole.
That is the real skill.
Start With the Furniture Itself
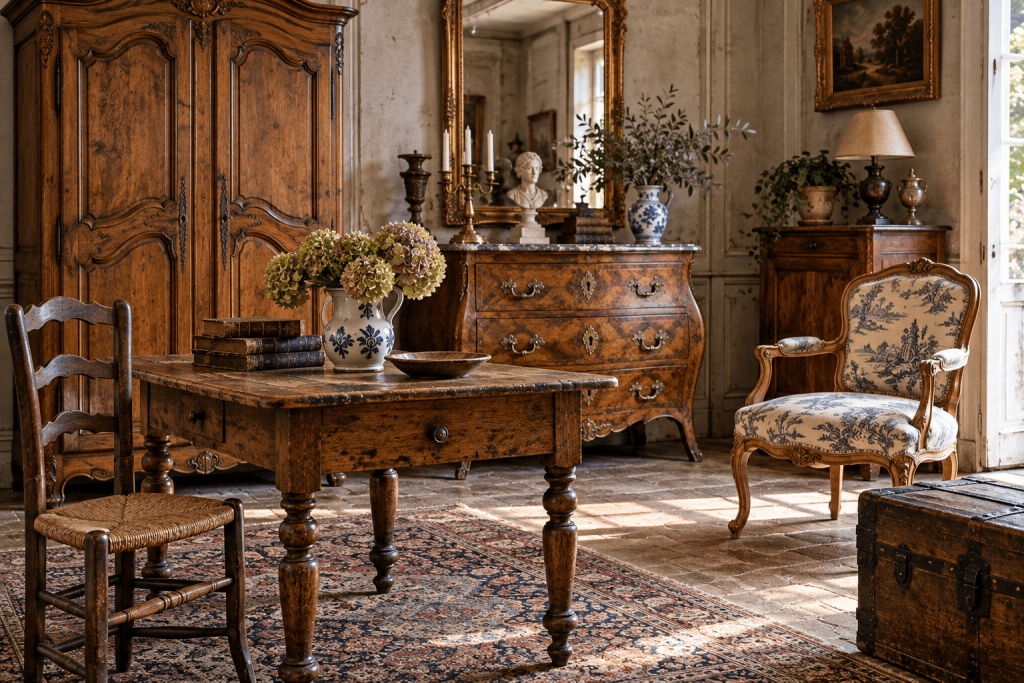
Before reaching for a reference book or searching the internet, simply look at the object.
What is it?
A chest?
A cabinet?
A table?
An armoire?
A commode?
A desk?
A chair?
Something else entirely?
Look at its proportions.
Look at the shape of the legs.
Look at the feet.
Look at the drawers.
Look at the doors.
Look at the decoration.
Then ask yourself a simple question:
Does everything seem to belong together?
This is surprisingly important.
Furniture has been copied for centuries.
Later makers frequently borrowed earlier styles, and furniture can also be altered, repaired and assembled from older and newer components.
A piece can therefore look convincingly eighteenth century at first glance while containing construction details from a much later period.
This is why identification should begin with curiosity rather than assumption.
Look at How It Was Made
One of the most useful things you can learn about antique furniture is that construction often tells you more than appearance.
Furniture was made differently in different periods.
The tools changed.
Manufacturing techniques changed.
Materials changed.
The availability of machinery changed.
And all those changes left evidence behind.
A beautifully carved surface might tell you what a piece was intended to look like.
The joints underneath may tell you how it was actually made.
This is why experienced collectors often turn furniture over, open drawers, look underneath tops and examine areas that were never intended to be seen.
The hidden parts can sometimes be more revealing than the beautiful ones.
The Drawer Test
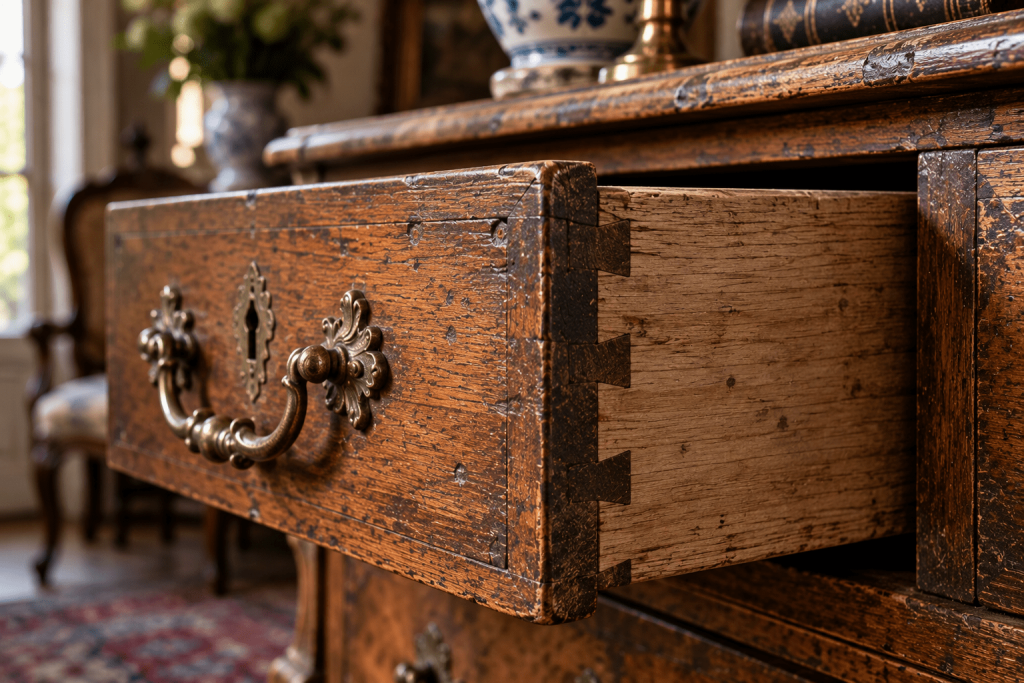
If you’re examining a chest of drawers, desk, commode or another piece with drawers, open one.
Then look carefully at the corners where the drawer front joins the sides.
This is where you’ll often find dovetail joints.
Dovetails are interlocking joints designed to hold two pieces of timber together. They are one of the classic clues people associate with antique furniture.
But there is an important warning here:
Dovetails don’t automatically make something antique.
Hand-cut dovetails can show variations in spacing and shape because they were made by a craftsman rather than a machine.
Later machine-made dovetails tend to be much more regular.
But furniture manufacturing history is complicated, and hand-made and machine-made techniques overlapped for considerable periods.
So don’t look at a drawer and think:
“Uneven dovetails = antique.”
Instead think:
“Interesting. That’s one piece of evidence.”
Then look for more.
Look at the Other Joints
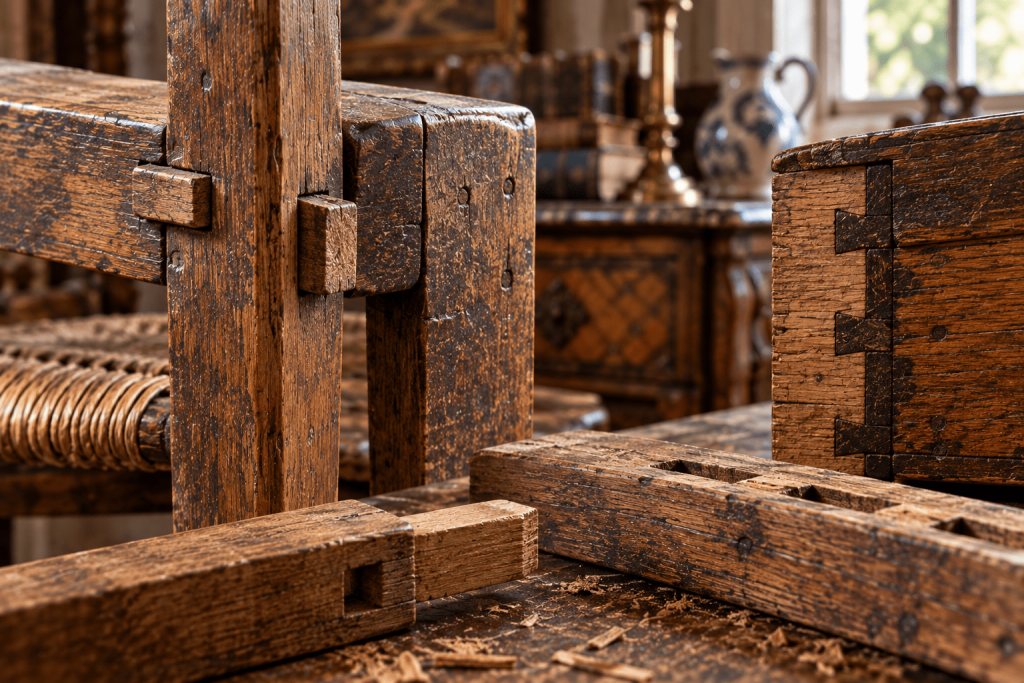
Dovetails aren’t the only joints worth examining.
You may encounter:
Mortise and Tenon
A traditional method of joining two pieces of timber, often used in frames, chairs and tables.
One piece of wood is shaped with a projecting tenon that fits into a corresponding mortise.
Pegged Joints
Wooden pegs may have been used to reinforce traditional joints.
Dowel Joints
Later furniture can use cylindrical wooden dowels to join components together.
Screwed or Glued Construction
Modern manufacturing techniques often rely much more heavily on screws, adhesives and machine-cut components.
None of these features should be treated as an instant date stamp.
Instead, they help you understand how the furniture was constructed.
And once you understand how something was made, you are already much closer to understanding when and where it might have been made.
Look at the Wood
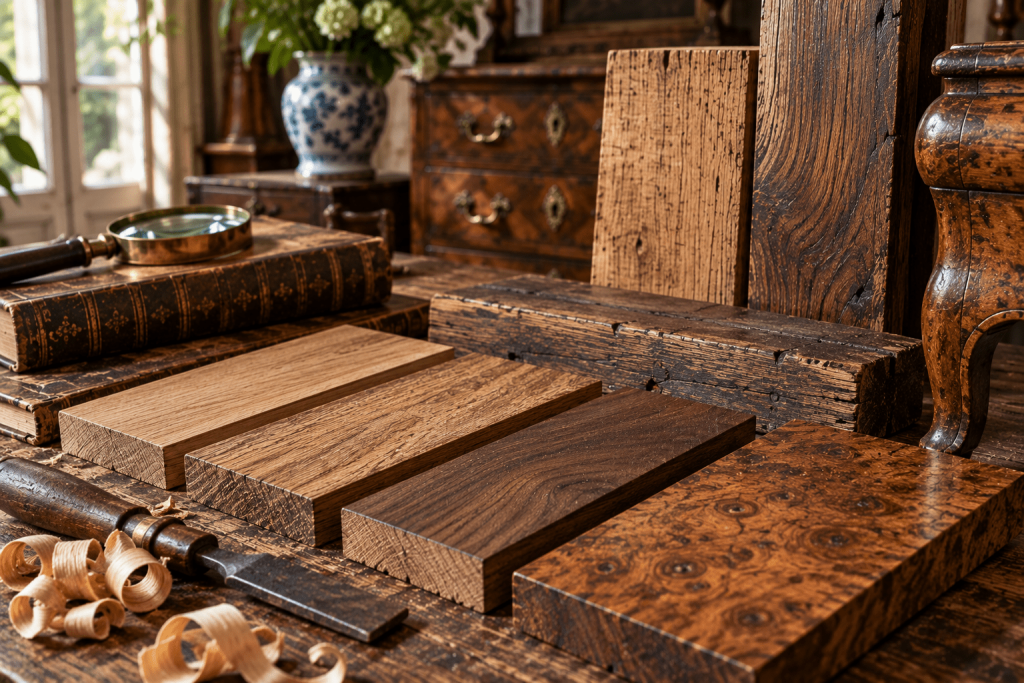
The timber itself can provide another useful clue.
European furniture has been made from an enormous range of woods, including:
- oak
- walnut
- beech
- elm
- ash
- fruitwoods
- pine
- chestnut
- mahogany
- and many others
Different woods were popular in different regions and periods.
Some were readily available locally.
Others were imported and therefore associated with particular periods, locations or levels of furniture production.
But identifying the wood isn’t simply a case of looking at the colour.
Old furniture may have been stained, polished, painted, stripped, waxed, darkened by age or restored.
And some furniture uses several different woods.
A beautiful expensive-looking timber might be used on the visible exterior while a completely different, less expensive wood was used for drawer sides, backs or internal components.
These secondary woods can be particularly interesting.
Again, we’re building evidence.
Don’t Forget the Back
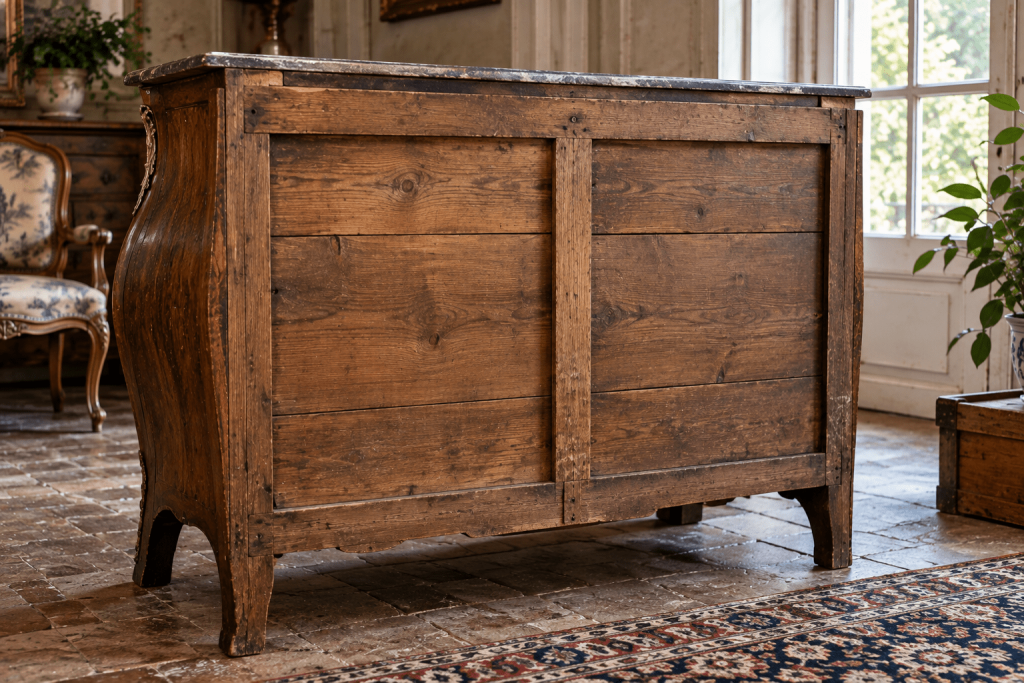
This is one of the easiest things for beginners to overlook.
Everyone looks at the front of a beautiful antique cabinet.
Far fewer people look carefully at the back.
But the back can reveal how the furniture was constructed.
Look at:
- the backboards
- how they are joined
- the nails or fixings
- the thickness of the boards
- saw marks
- whether the back appears original
- whether there are signs that it has been replaced
The same applies to the underside.
A piece of furniture doesn’t stop being interesting just because nobody normally sees that part of it.
In fact, the opposite can be true.
The parts nobody sees have often been changed much less than the parts everybody sees.
Hardware Can Tell a Story
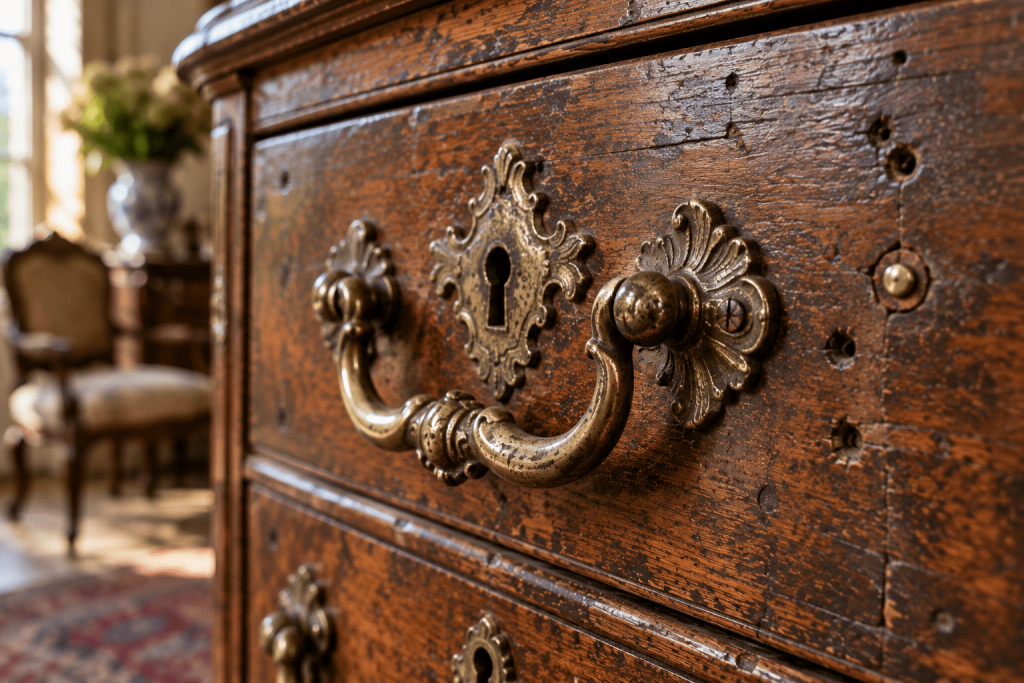
Now look at the metalwork.
Handles.
Locks.
Hinges.
Escutcheons.
Brackets.
Casters.
Screws.
Nails.
These can all provide useful information.
Traditional furniture hardware changed considerably over time, and different periods and regions have their own characteristics.
But there’s another reason hardware is useful.
It can reveal repairs.
Imagine finding an old chest with beautiful aged brass handles.
Look closely.
Are the handles sitting in the original holes?
Are there extra holes underneath?
Does the wear around the handles correspond with their shape?
Do the screws appear consistent with the rest of the furniture?
If one part looks considerably newer than everything around it, that doesn’t necessarily mean the furniture is fake.
It may simply mean that somebody repaired it.
And that brings us to one of the most important things to understand about antiques.
Old Furniture Has Usually Been Repaired
Antique furniture has lived a life.
It may have been used every day for generations.
Drawers wear out.
Hinges break.
Feet become damaged.
Handles disappear.
Surfaces get scratched.
Timber moves.
Pieces are repaired.
Sometimes they are repaired beautifully.
Sometimes they are repaired rather creatively.
A replacement screw, hinge or handle therefore doesn’t automatically make an antique furniture piece inauthentic.
It may simply tell you something about the object’s history.
The important question is:
What is original, what has been replaced and how does that affect the piece?
This distinction will become increasingly important as you learn more about antiques.
Look at the Style
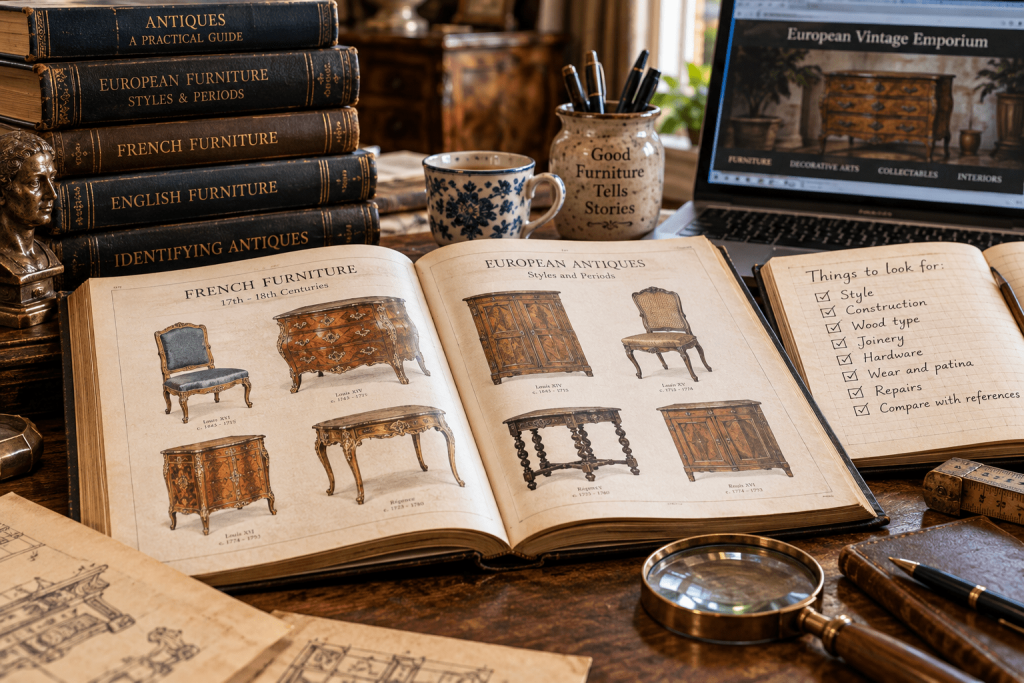
Once you’ve examined the construction, start looking at the furniture’s style.
Does it appear:
- Baroque?
- Rococo?
- Neoclassical?
- Georgian?
- Victorian?
- Art Nouveau?
- Art Deco?
- French Provincial?
- Mid-Century?
- Something else?
Style can be extremely useful for narrowing down a period.
But style is also one of the easiest things to copy.
A later piece can be deliberately designed to look Georgian.
A nineteenth-century maker could reproduce an earlier French style.
A twentieth-century manufacturer could produce furniture inspired by eighteenth-century designs.
So style should be treated as a clue, not a verdict.
If the style says one thing but the construction says something completely different, stop and investigate.
That disagreement may be telling you something important.
Pay Attention to Proportions
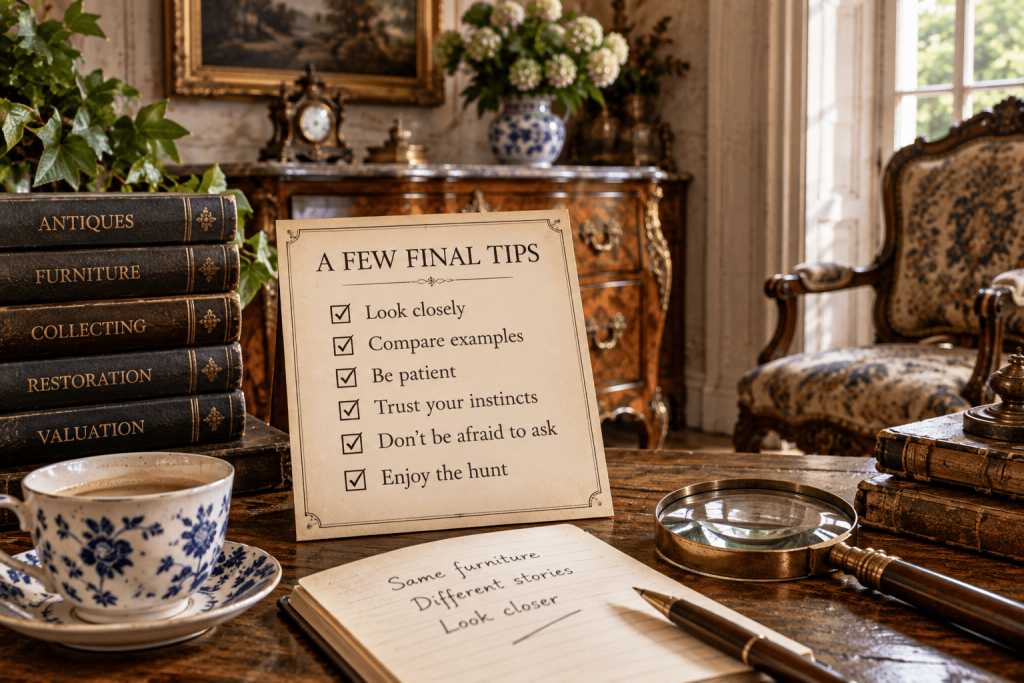
This is a slightly more difficult skill, but it becomes remarkably useful with experience.
Look at the proportions of the furniture.
How tall is it?
How wide?
How thick are the components?
How do the legs relate to the body?
How large are the drawers?
How deep is the cabinet?
Does the whole piece look balanced?
Furniture from different periods often has distinctive proportions.
The more furniture you examine, the more these differences begin to register almost subconsciously.
You may eventually find yourself looking at a piece and thinking:
“That doesn’t quite look right.”
You might not immediately know why.
That’s okay.
The feeling that something doesn’t quite add up is often the beginning of good investigation.
What About Patina?
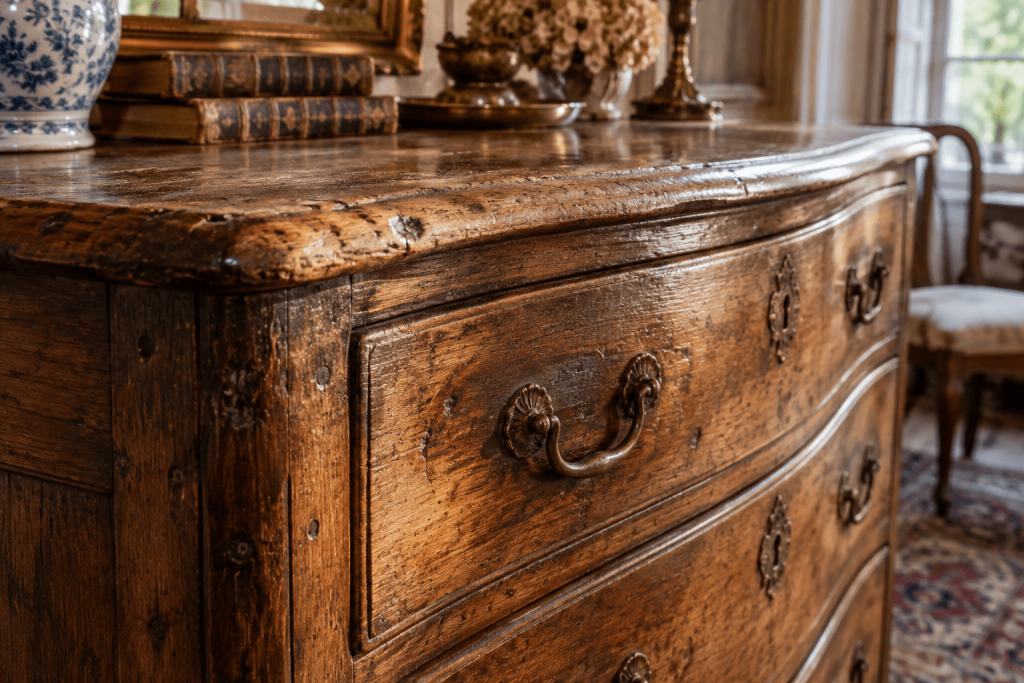
Patina is another useful piece of the puzzle.
As we discussed in our first EVE Knowledge Library guide, patina isn’t simply dirt.
Wood changes colour.
Finishes age.
Metal oxidises.
Paint fades.
Surfaces become worn through handling and use.
These changes can help tell the story of an object.
Look at areas that would naturally receive wear.
Handles.
Drawer fronts.
Edges.
Corners.
Feet.
Places where hands would regularly touch the furniture.
Does the wear make sense?
A chair that has supposedly been used for 150 years should usually show some evidence of having been handled and moved.
But be careful.
Artificial ageing techniques exist, and furniture can also be heavily restored or refinished.
Patina is therefore another piece of evidence — not a certificate of authenticity.
Look for Marks, Labels and Inscriptions
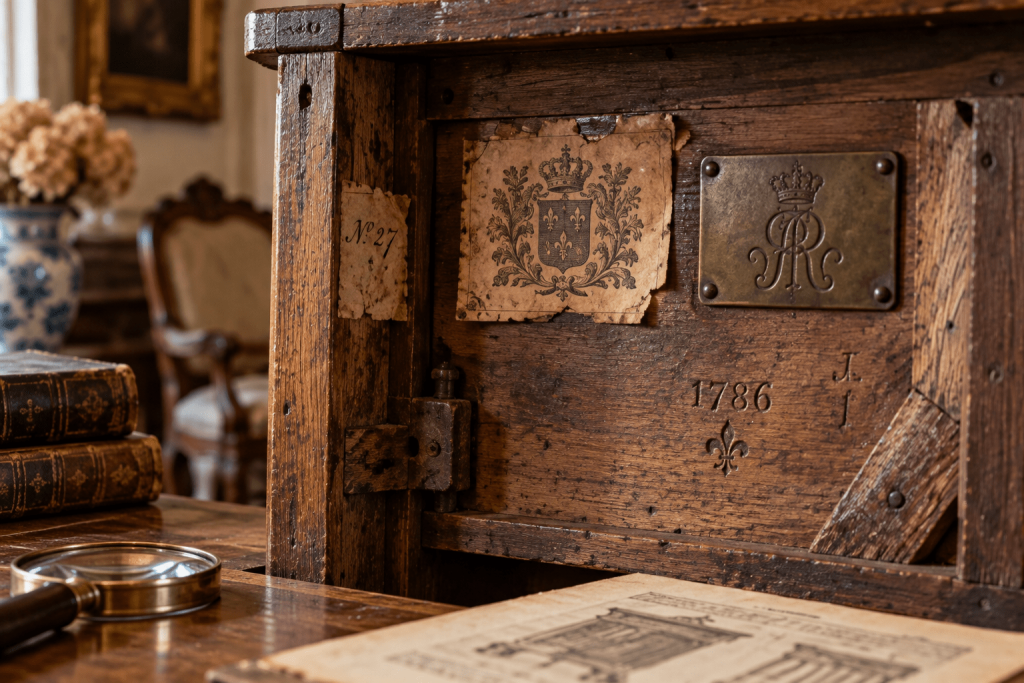
Before you get too excited about identifying a famous maker, look for evidence.
Check:
- the backs of drawers
- the inside of drawers
- the underside
- the back
- cabinet interiors
- paper labels
- stamps
- handwritten notes
- numbers
- carved initials
- manufacturer’s marks
A genuine maker’s mark can be extremely useful.
But marks can also be misleading.
Labels can be replaced.
Names can be copied.
Old furniture can acquire later labels during restoration.
And a mark that appears to identify a maker may actually identify a retailer, manufacturer, previous owner or restoration workshop.
So once again:
Don’t rely on one clue.
Is the Furniture Actually All the Same Age?
This is where antique furniture identification becomes particularly interesting.
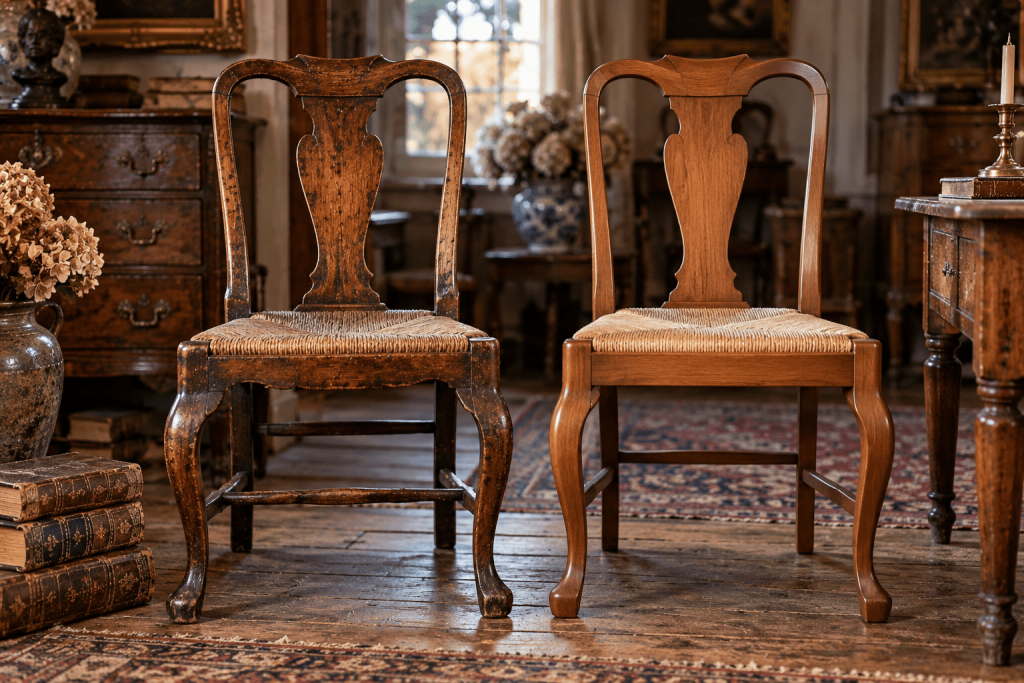
A piece can contain components from different periods.
Perhaps an old cabinet has been fitted with replacement doors.
Perhaps a damaged drawer was replaced.
Perhaps two old pieces were combined.
Perhaps an original piece was altered to suit a changing fashion.
Dealers sometimes refer to furniture assembled from different original pieces as being “married.”
That doesn’t necessarily make the furniture bad.
It simply means you need to understand what you’re looking at.
A piece can still be beautiful, useful and historically fascinating while having undergone changes during its lifetime.
The important thing is honesty.
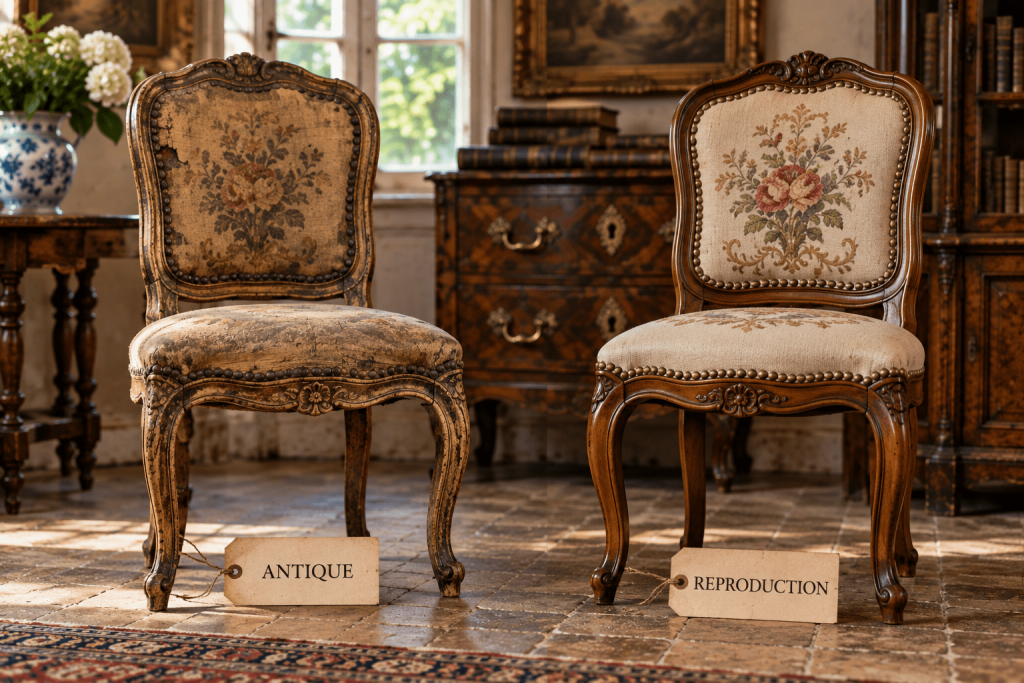
Antique, Reproduction or Revival?
Now we reach one of the biggest challenges for anyone buying antique furniture.
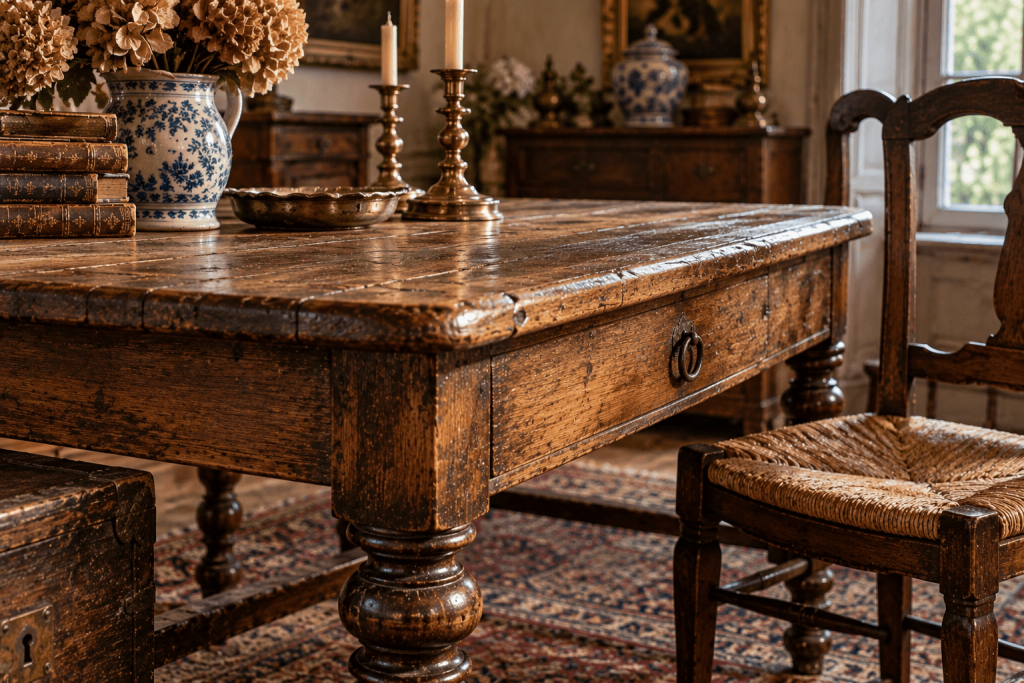
Something can be designed to look old without actually being old.
A reproduction may deliberately copy an earlier style.
A revival piece may have been made decades after the original period but faithfully imitate it.
And some modern furniture is deliberately distressed to give it an aged appearance.
This is why the question:
“Does it look old?”
is not particularly useful.
A better question is:
“Does the way it was made make sense for the period it appears to represent?”
That’s a much more interesting question.
So How Do You Actually Identify a Piece?
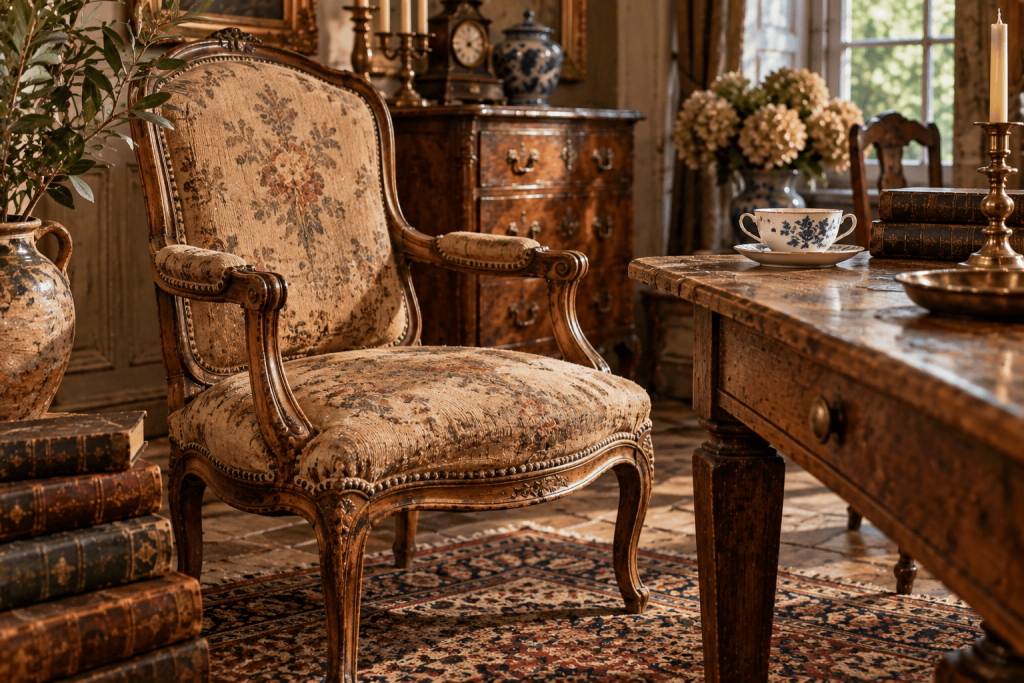
At this point, you should have a collection of clues.
Don’t rush to a conclusion.
Put them together.
1. Identify the type of furniture
What is it actually designed to be?
2. Look at the construction
How was it assembled?
3. Examine the joinery
What do the joints tell you?
4. Study the wood
What timber has been used?
5. Inspect the drawers
Look at dovetails, bottoms, runners and secondary woods.
6. Turn it around
Look at the back and underneath.
7. Examine the hardware
Handles, locks, hinges, screws and nails.
8. Study the style
What period or regional tradition does it resemble?
9. Look for marks
Labels, stamps, signatures and inscriptions.
10. Consider repairs
What has been replaced, restored or altered?
11. Look at the wear
Does the age and use appear consistent?
12. Put everything together
Do all the clues tell the same story?
That’s the important part.
Identification isn’t about finding one magical clue. It’s about building a convincing picture from lots of smaller ones.
What If You Still Can’t Identify It?
Don’t worry.
Seriously.
There is no shame in looking at an old piece of furniture and having absolutely no idea what it is.
That’s how learning begins.
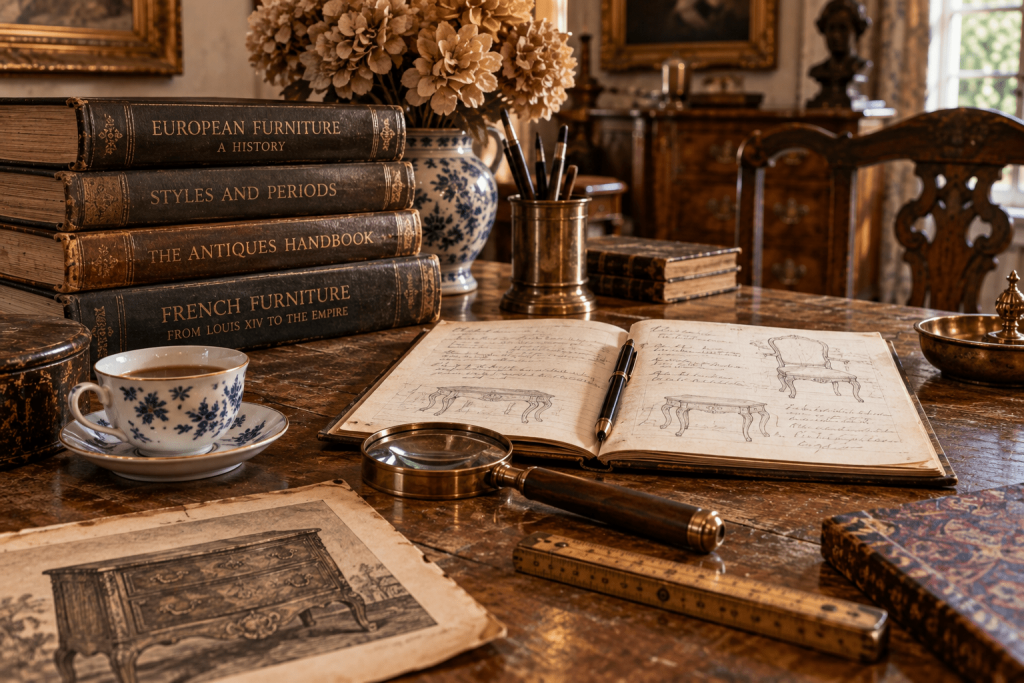
Take photographs.
Photograph the entire piece.
Then photograph:
- the front
- the sides
- the back
- the underside
- the feet
- the drawers
- the joints
- the hardware
- any labels or marks
- anything unusual
Write down the measurements.
Note anything you already know about its history.
Then start comparing it with known examples.
Reference books, museum collections, auction archives, reputable dealers and specialist resources can all help.
And if you’re considering buying an expensive piece, remember that internet research has limits.
Some furniture really does need to be examined in person.
A Simple EVE Furniture Identification Checklist
Before deciding what an old piece of furniture is, ask yourself:
What is it?
How was it made?
What wood was used?
How are the joints constructed?
What do the drawers reveal?
Does the back look original?
What does the hardware tell me?
Is there a maker’s mark or label?
Does the style fit the construction?
Does the wear make sense?
Has anything been replaced or restored?
Could it be a reproduction or revival piece?
Do all the clues agree with one another?
If the answer to the last question is yes, you’re probably getting somewhere.
The EVE View
One of the things we love about antique furniture is that it doesn’t give up all its secrets immediately.
A piece can look completely different once you know where to look.
A drawer isn’t simply a drawer anymore.
It’s evidence.
A screw isn’t just a screw.
It’s evidence.
The back of a cabinet isn’t just something nobody sees.
It’s evidence.
A worn handle, an old repair, an unusual joint or a piece of timber hidden underneath can all tell you something about the object’s journey.
And perhaps that’s why identifying antique furniture is so much more enjoyable than simply asking whether something is old.
You’re learning to read the object.
You’re discovering how it was made, where it might have come from, what happened to it during its life and why it has survived long enough to be sitting in front of you today.
You don’t have to become an expert overnight.
Just start looking.
The more furniture you examine, the more you’ll begin to see.
And eventually, you may find yourself walking past an old cupboard and thinking:
“Hang on a minute. Let’s have a look at that drawer.”
That’s when you know you’re getting the bug.
Where To Go Next
Now that we’ve looked at the basics of identifying antique furniture, we can start getting much more specific.
In future EVE Knowledge Library guides we’ll explore the clues in considerably more detail.
We’ll look at French furniture, different furniture styles, woods, joinery, hardware and the terminology used by collectors and dealers.
And we’ll also start exploring the enormous world of vintage furniture and objects — because not everything interesting needs to be 100 years old.
That’s one of the things we love about collecting.
There is always another drawer to open.